Arc is Now on AWS Marketplace: One-Click Deployment for Industrial IoT

You shouldn't need a week to deploy a database.
But if you've ever tried to get a new tool into an enterprise environment, you know the drill. Procurement approval. Security review. Vendor assessment. License negotiation. By the time you actually deploy the thing, you've forgotten what problem you were trying to solve.
Today, that changes. Arc is now available on AWS Marketplace—free to use, with optional enterprise support.
No license keys. No sales calls. No procurement gymnastics. Just click "Subscribe," launch an instance, and start ingesting sensor data.
Why AWS Marketplace?
Over the past few months, we heard the same thing from teams evaluating Arc:
"We love it. We've tested it. Now we need to get it through procurement."
For many enterprise teams, AWS Marketplace solves that problem. It's already approved. It's already in the budget. The billing flows through the same AWS account they're already using. Security has already vetted the marketplace process.
When a customer told me they could deploy from Marketplace in an afternoon but needed three weeks for a traditional procurement process, the decision was obvious.
What You Get
Arc on AWS Marketplace is the same Arc you'd deploy yourself:
- Full feature set—every capability, no artificial limits
- AGPL-3.0 license—free to use, same as self-hosted
- Parquet storage—your data stays portable
- Sub-second queries—even on billions of rows
- All ingestion protocols—MessagePack, InfluxDB Line Protocol, REST API
The only difference is the deployment path. Instead of pulling a Docker image or installing from our Helm chart, you click a button in AWS console.
Deployment Patterns
There are two main ways to run Arc on AWS. Pick the one that fits your use case.
Pattern 1: Quick Start (Dev/Testing Only)
For evaluation and development, the simplest path is a single EC2 instance with a public IP.
⚠️ Warning: This pattern exposes your database directly to the internet. Never use this for production workloads or sensitive data. It's designed for quick testing only.
Good for:
- Evaluating Arc with sample data
- Development and testing
- Quick proof-of-concept
- Learning the API
Not suitable for:
- Production workloads
- Sensitive or real data
- Multi-user environments
- Anything you care about losing
Setup:
- Subscribe to Arc on AWS Marketplace
- Launch an EC2 instance with a public IP
- Configure security group to allow port 8000 (restrict to your IP if possible)
- SSH into the instance and grab your admin token from the logs
- Connect directly to the instance
Getting your admin token:
After the instance launches, SSH in and check the Arc service logs:
# SSH into your instance (Ubuntu-based AMI)
ssh -i your-key.pem ubuntu@your-instance-ip

# View Arc logs to find the admin token
sudo journalctl -u arc | grep "Admin token"

# You'll see something like:
# Admin token: ark_abc123...xyz
Save this token—you'll need it for all API calls.
This gets you running in under 10 minutes. When you're done testing, move to the production pattern.
Pattern 2: Production (Recommended)
For production workloads, you want Arc behind an Application Load Balancer in a private subnet. This gives you SSL termination, health checks, and proper network isolation.
┌──────────────────────────────────────────────────────────┐
│ VPC (10.0.0.0/16)                                        │
│                                                          │
│  ┌────────────────────────────────────────────────────┐  │
│  │ Public Subnet (10.0.0.0/24)                        │  │
│  │                                                    │  │
│  │  ┌──────────────────────────────────┐              │  │
│  │  │ Application Load Balancer (ALB)  │              │  │
│  │  │ - HTTPS (443) with SSL cert      │              │  │
│  │  │ - Terminates TLS                 │              │  │
│  │  │ - Health checks                  │              │  │
│  │  └────────────┬─────────────────────┘              │  │
│  │               │                                    │  │
│  └───────────────┼────────────────────────────────────┘  │
│                  │ HTTP (8000)                           │
│  ┌───────────────┼────────────────────────────────────┐  │
│  │ Private Subnet (10.0.1.0/24)       │               │  │
│  │                                    ▼               │  │
│  │  ┌──────────────────────────────────────┐          │  │
│  │  │ Arc Instance                         │          │  │
│  │  │ - No public IP                       │          │  │
│  │  │ - Port 8000 from ALB only            │          │  │
│  │  │ - EBS storage for Parquet files      │          │  │
│  │  └──────────────────────────────────────┘          │  │
│  │                                                    │  │
│  └────────────────────────────────────────────────────┘  │
│                                                          │
│  Optional:                                               │
│  • Telegraf in same VPC                                  │
│  • Grafana in same VPC                                   │
│  • NAT Gateway for outbound                              │
└──────────────────────────────────────────────────────────┘
Good for:
- Production workloads
- Multiple clients (Telegraf, Grafana, applications)
- SSL/HTTPS required
- Health checks and monitoring
Security highlights:
- SSL termination at ALB (free certificate from AWS Certificate Manager)
- Arc runs in a private subnet with no internet exposure
- Security groups restrict traffic to ALB → Arc only
- Optional: ALB authentication for additional access control
Step-by-Step: Production Deployment
Let me walk you through setting up the production pattern.
Step 1: Subscribe to Arc on Marketplace
Search for "Arc" in AWS Marketplace, or use the direct link below.
https://aws.amazon.com/marketplace/pp/prodview-mkhhh2vk4fyss
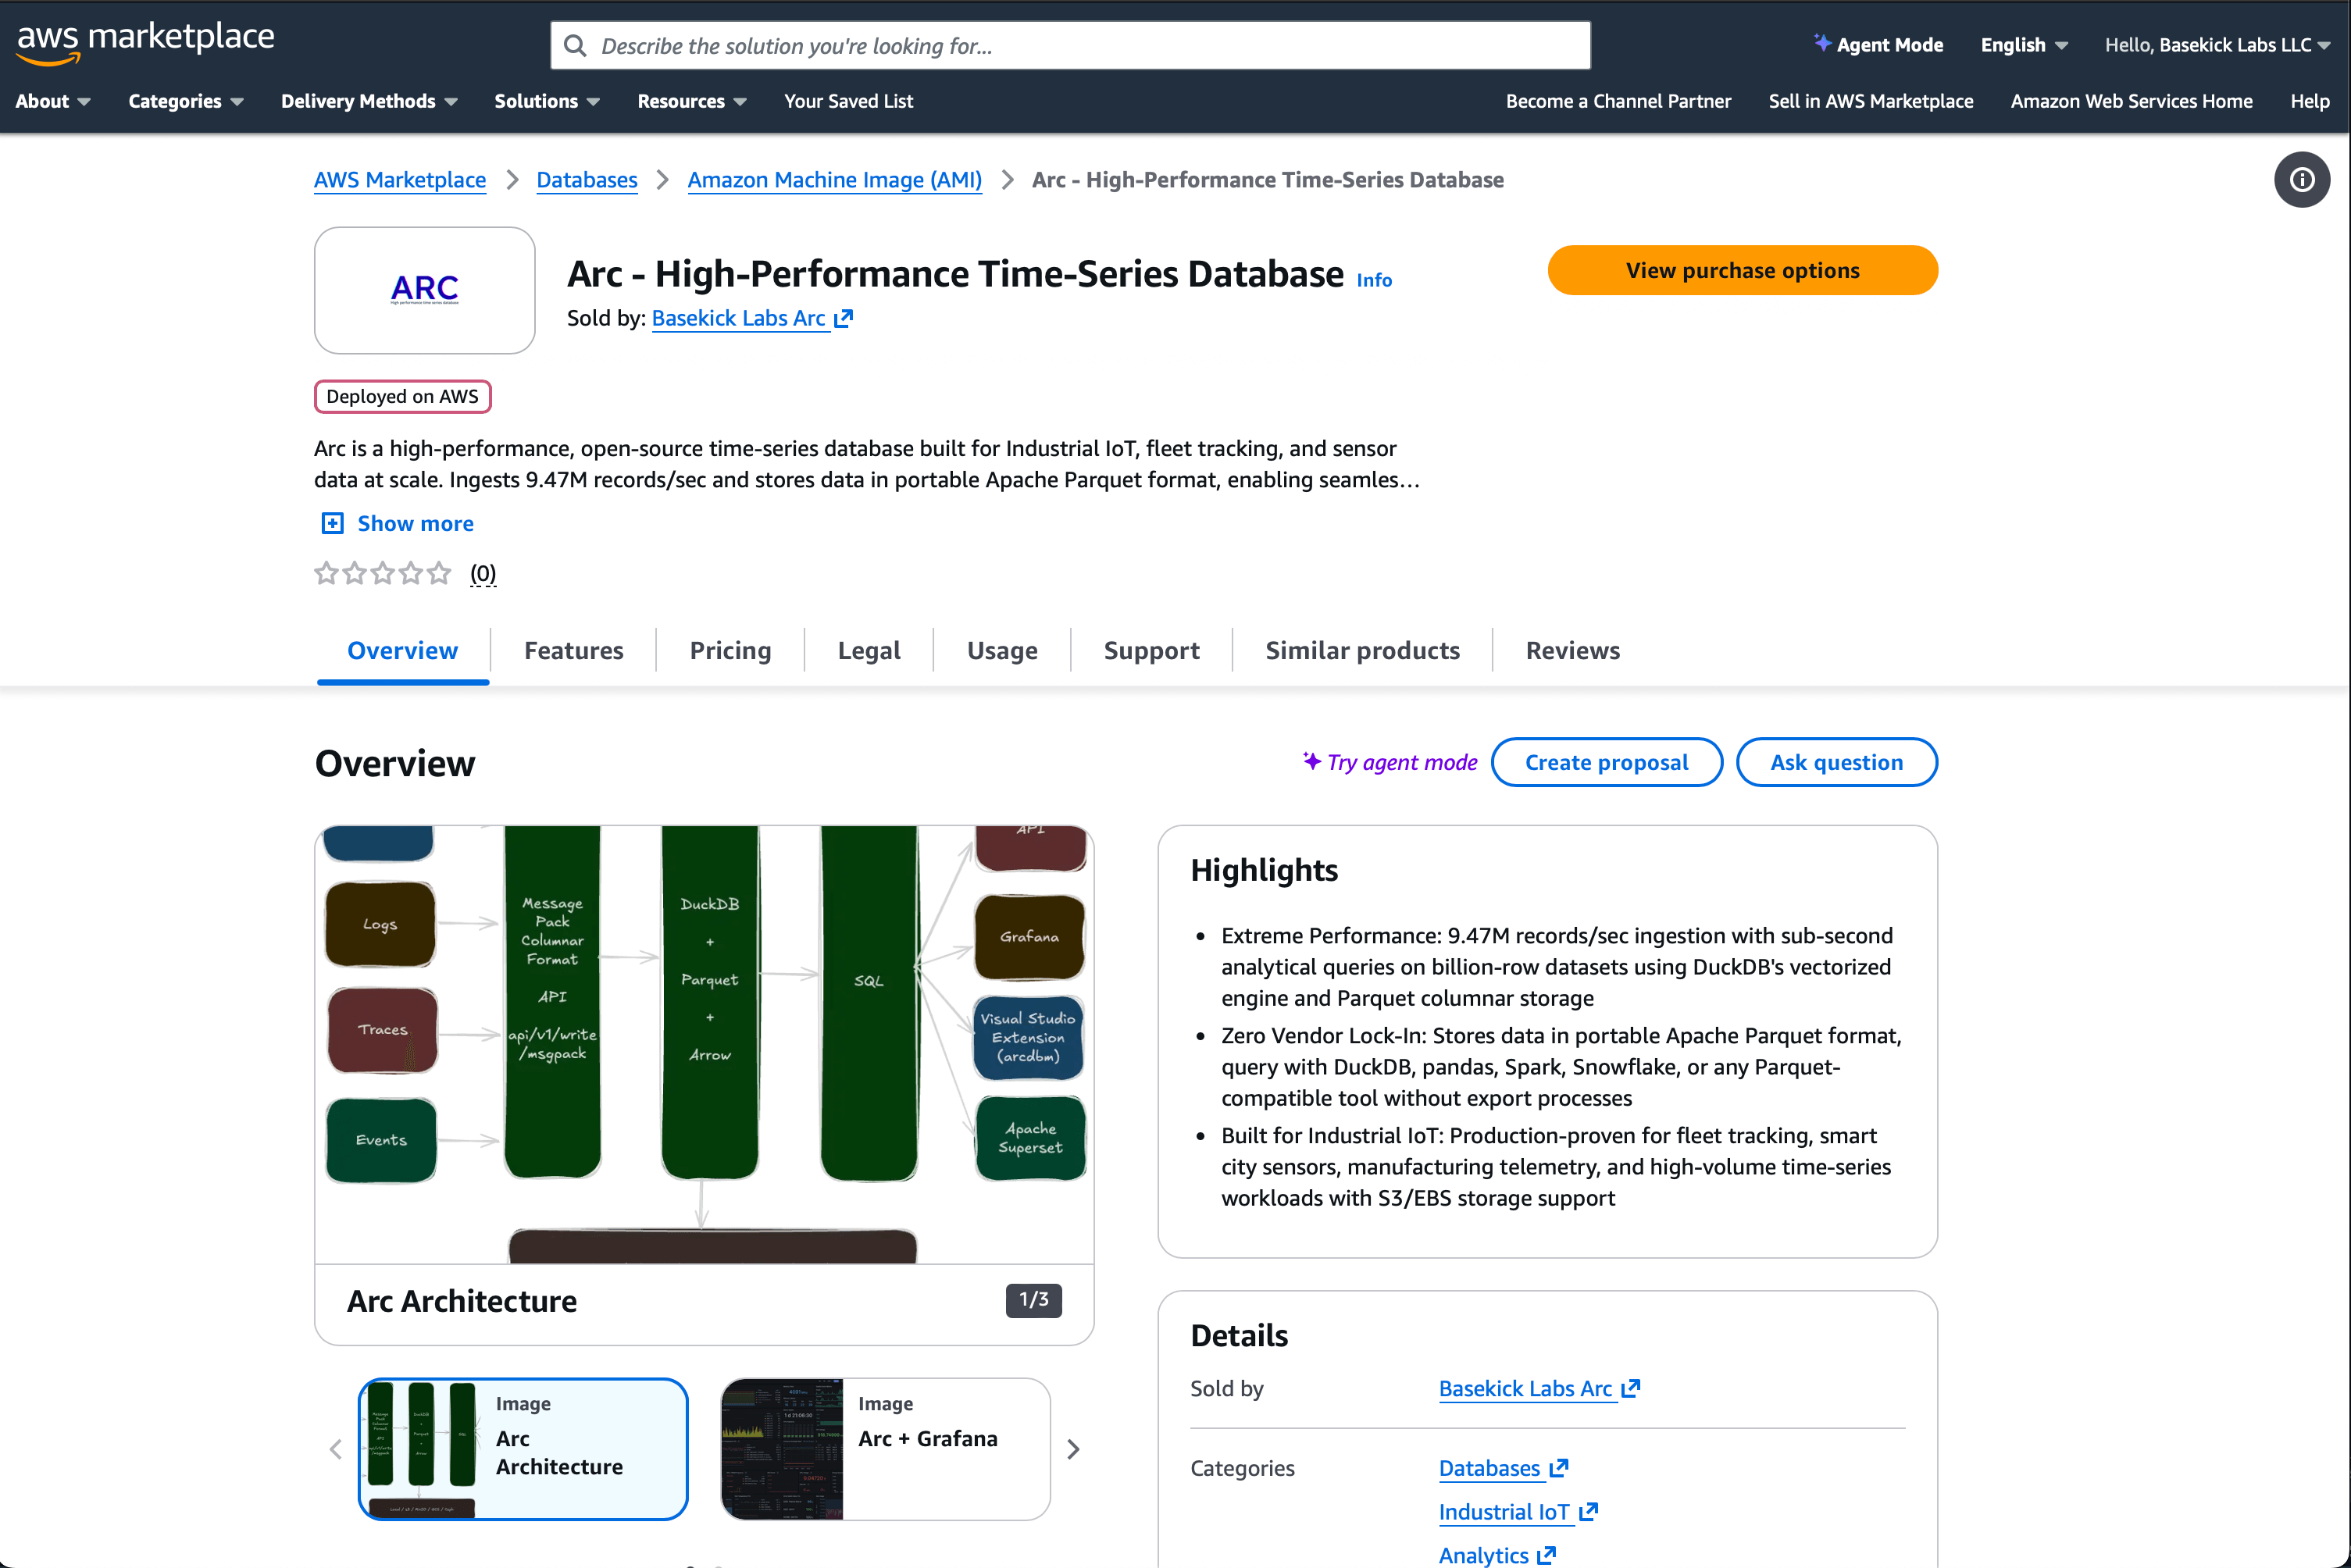
Click "View purchase options," then scroll down to "Subscribe"
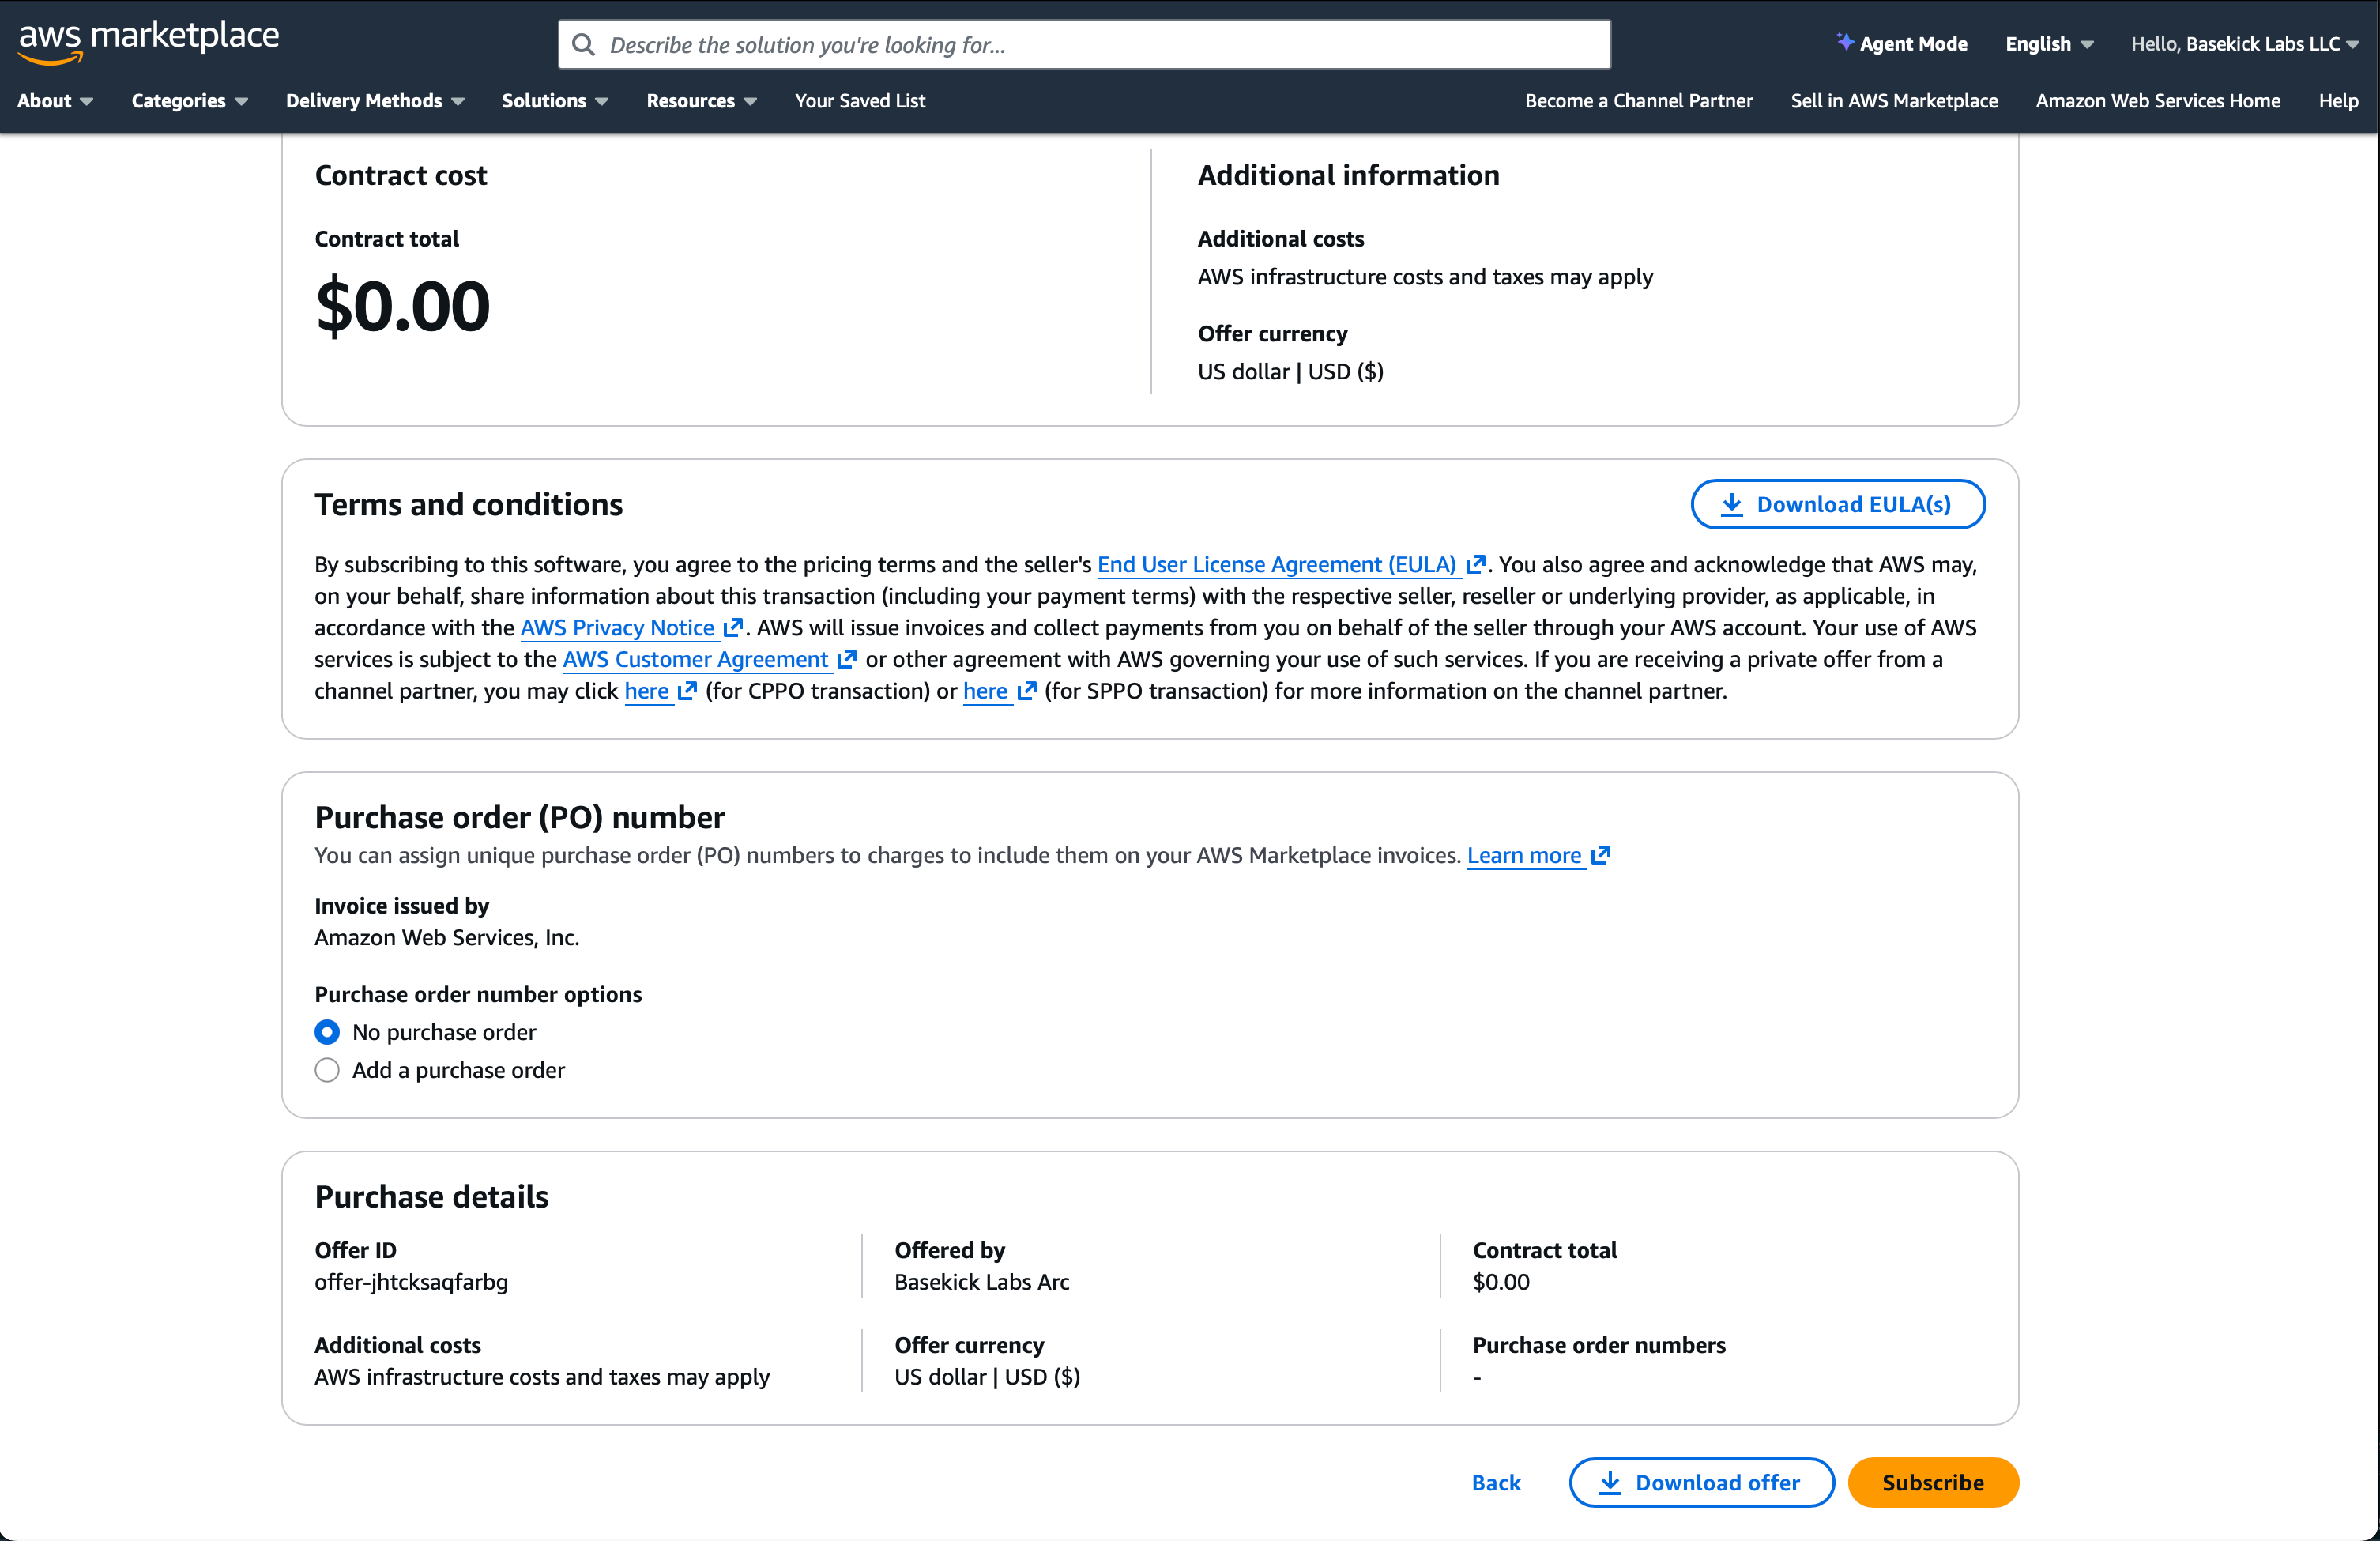
As soon you click "Subscribe" is going to take a second, and in the offer details section, you will find a new button that invites you to Launch Your Software.
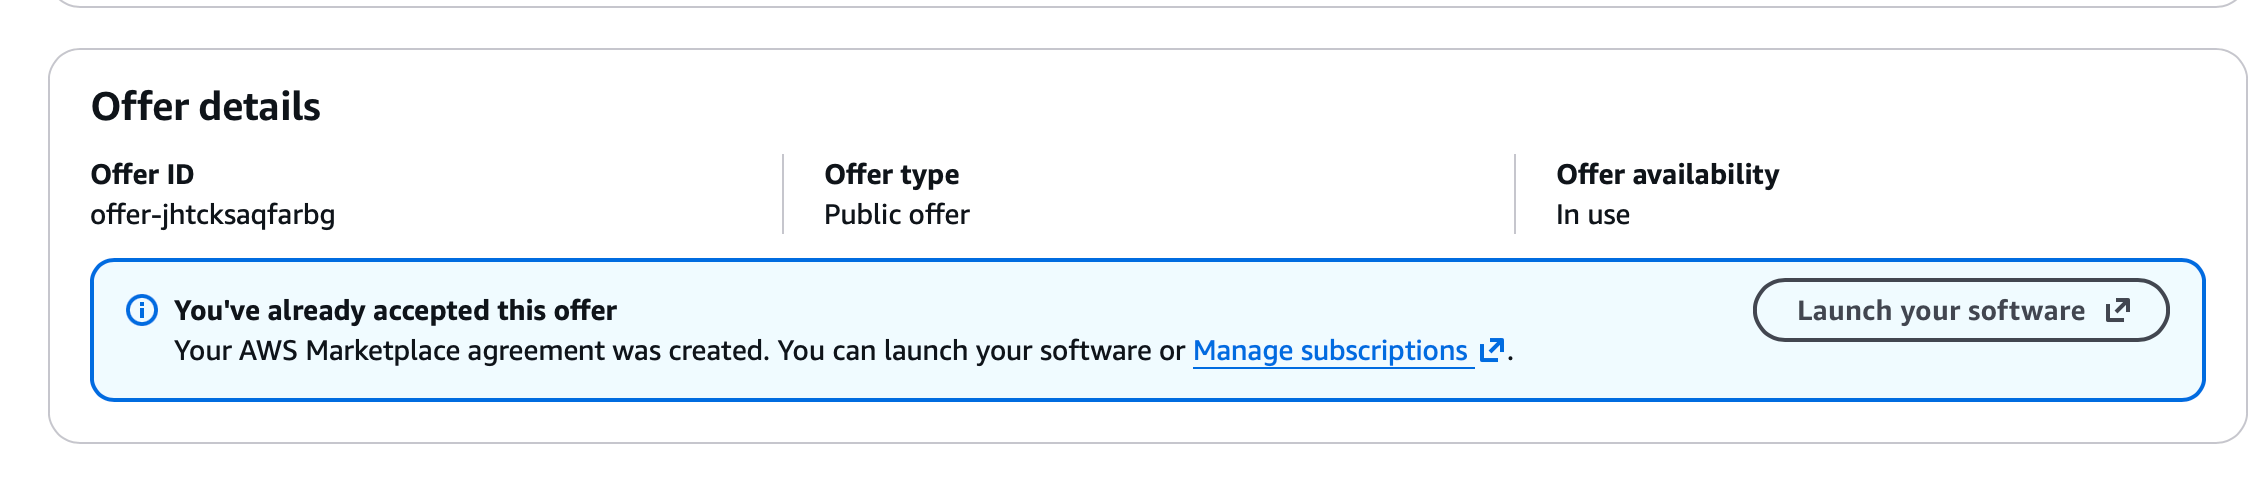
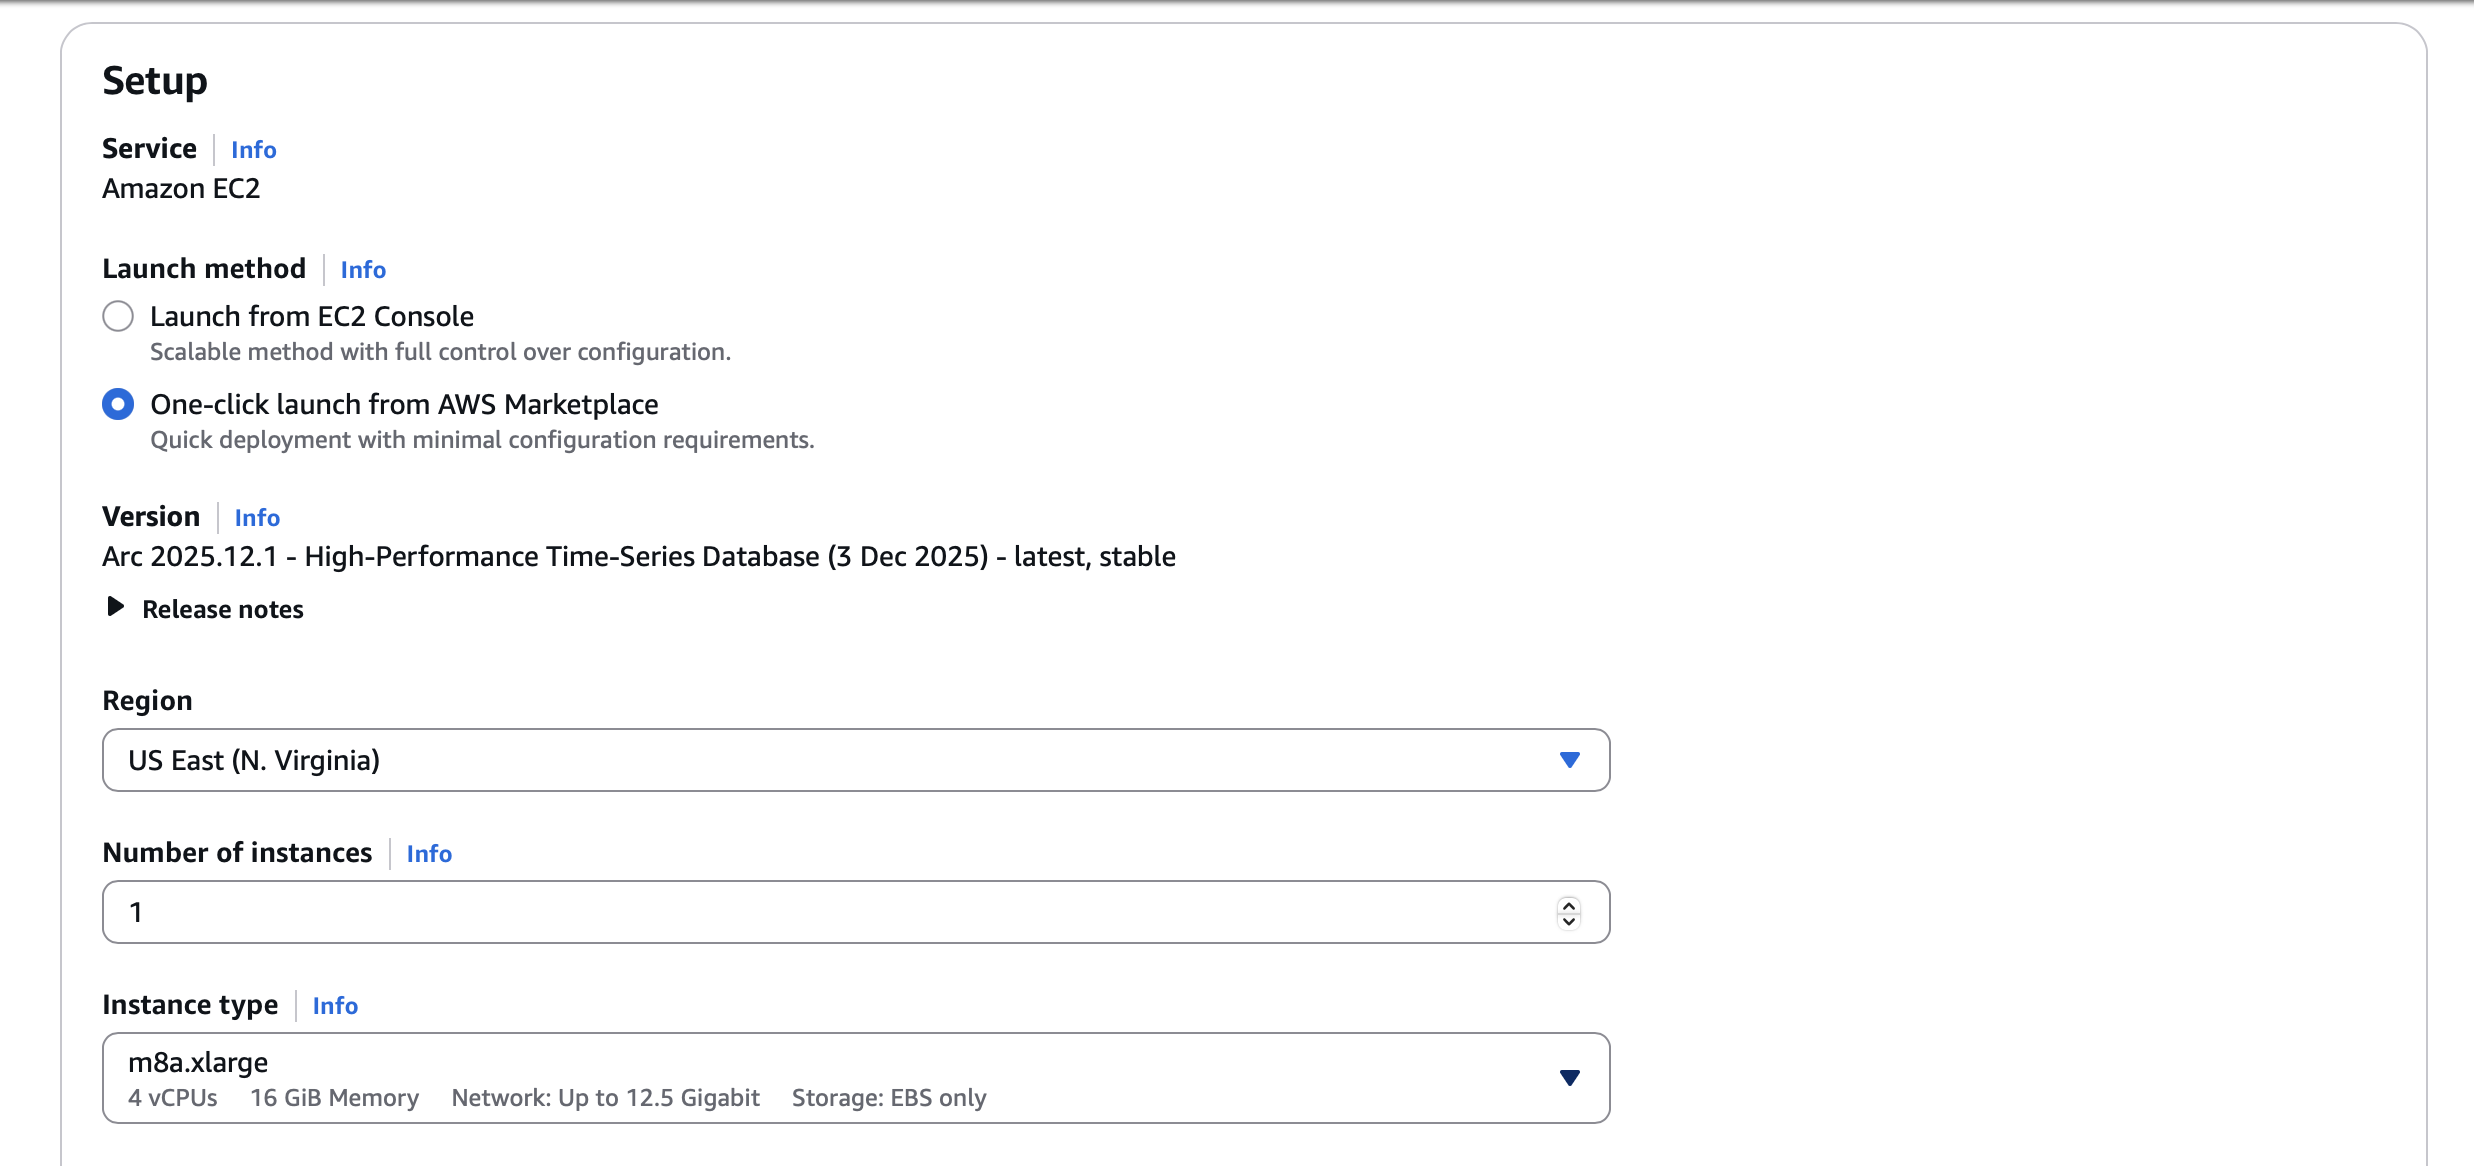
Step 2: Launch Configuration
Select your region and instance type. For most workloads, start with:
- Instance type: t3.large (2 vCPU, 8 GB RAM) for testing, m8a.xlarge or larger for production
Step 3: Configure Network Settings
This is where the production architecture comes in.
VPC: Select your existing VPC or create a new one Subnet: Choose a private subnet (no internet gateway route) Security Group: Create a new one that allows:
- Inbound: Port 8000 from your ALB security group only
- Outbound: As needed for your environment
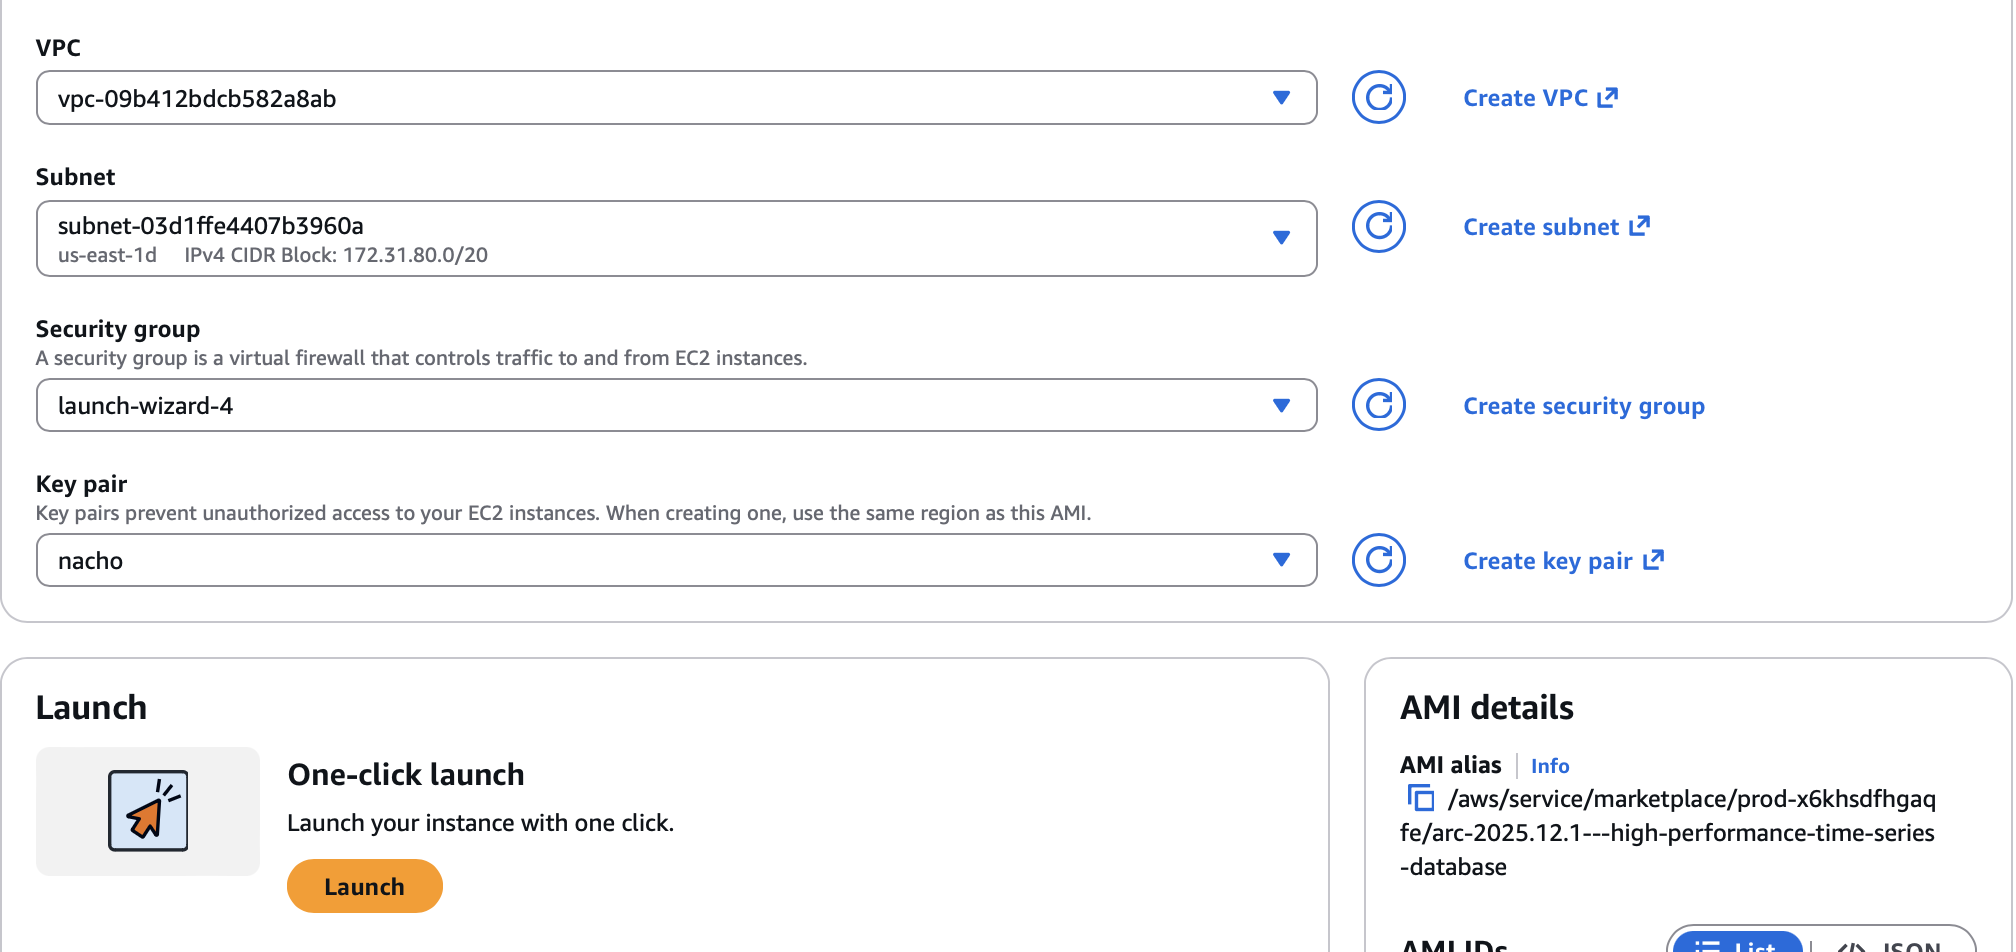
Once you are set, click on Launch in the One-click launch section.
If everything goes well, you will see a screen like the following one:
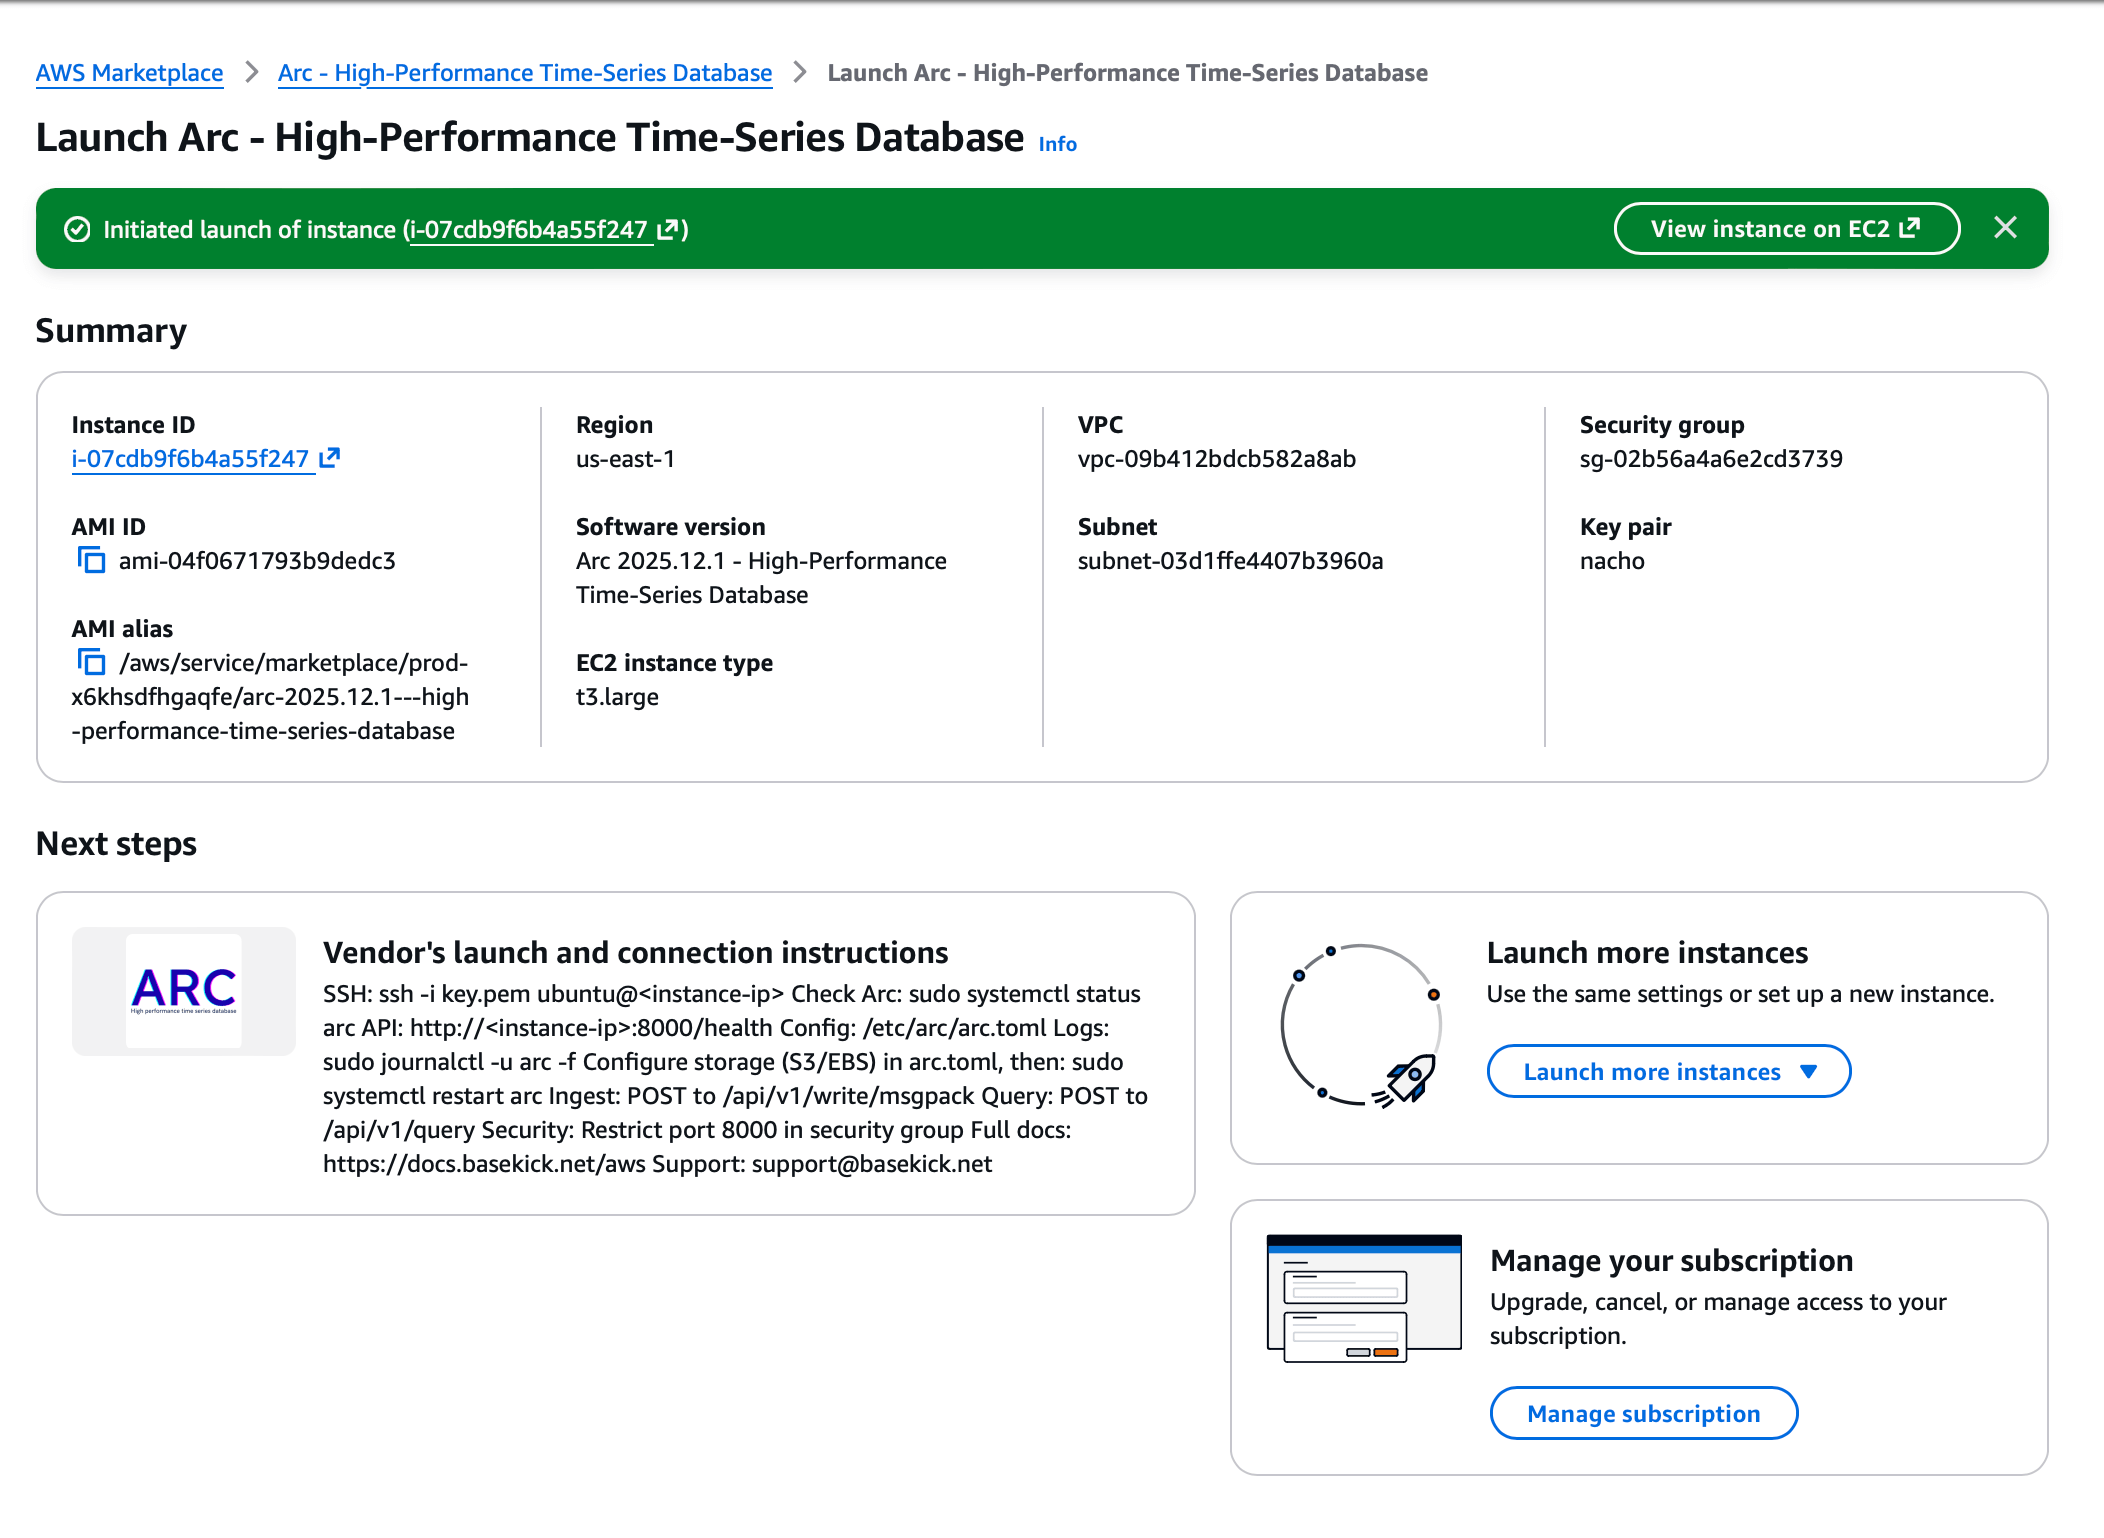
Go to your EC2 Console for the next step.
Step 4: Create a Target Group
Before creating the load balancer, you need a target group that points to your Arc instance.
- In the EC2 console, go to Target Groups under Load Balancing
- Click Create target group
Basic configuration:
- Target type: Instances
- Target group name:
arc-target-group - Protocol: HTTP
- Port: 8000
- VPC: Select the same VPC where Arc is running
Health checks:
- Health check protocol: HTTP
- Health check path:
/health - Healthy threshold: 2
- Unhealthy threshold: 2
- Timeout: 5 seconds
- Interval: 30 seconds
- Click Next, then select your Arc instance and click Include as pending below
- Click Create target group
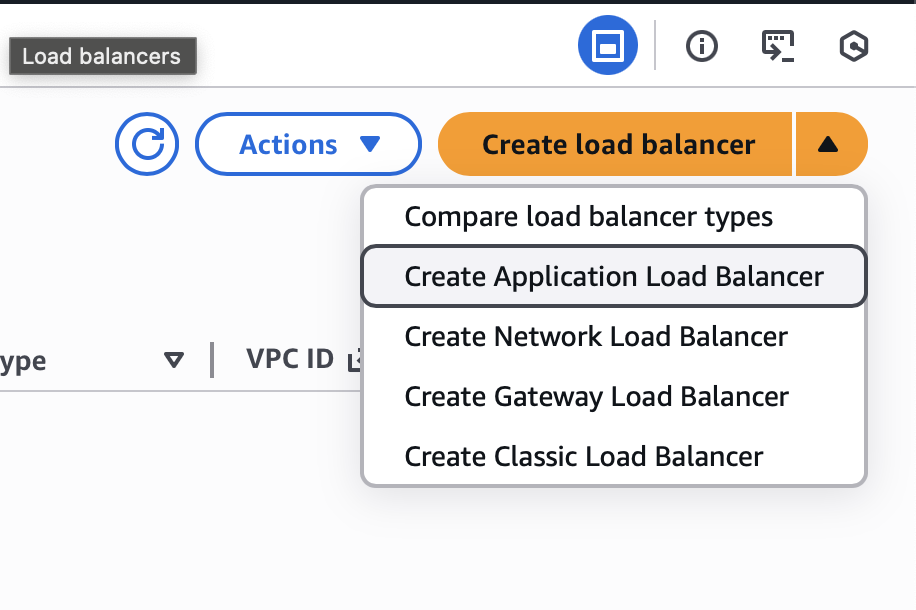
Step 5: Create the Application Load Balancer
Now create the load balancer itself.
- In the EC2 console, go to Load Balancers under Load Balancing
- Click Create load balancer
- Select Application Load Balancer → Create
Basic configuration:
- Load balancer name:
arc-alb - Scheme: Internet-facing
- IP address type: IPv4
Network mapping:
- VPC: Select your VPC
- Availability Zones: Select at least two public subnets (one per AZ)
Security groups:
- Create a new security group or select an existing one
- Allow inbound HTTPS (443) from your allowed IP ranges (or 0.0.0.0/0 for public access)
Listeners and routing:
- Protocol: HTTPS
- Port: 443
- Default action: Forward to your
arc-target-group
Secure listener settings:
- Security policy: ELBSecurityPolicy-TLS13-1-2-2021-06 (or newer)
- Default SSL/TLS certificate: Select from ACM (free) or import your own
- Click Create load balancer
Step 6: Point Your Domain to the Load Balancer
Once the load balancer is created, you need to point your domain to it.
- Go to Load Balancers and select your new ALB
- Copy the DNS name (e.g.,
arc-alb-1234567890.us-east-1.elb.amazonaws.com)
Option A: Using Route 53 (Recommended)
If your domain is managed in Route 53:
- Go to Route 53 → Hosted zones → select your domain
- Click Create record
- Configure:
- Record name:
arc(forarc.yourdomain.com) - Record type: A
- Alias: Yes
- Route traffic to: Alias to Application and Classic Load Balancer
- Region: Select your ALB's region
- Load balancer: Select your ALB
- Record name:
- Click Create records
Option B: Using External DNS Provider
If your domain is managed elsewhere (Cloudflare, GoDaddy, etc.):
- Create a CNAME record pointing to the ALB DNS name:
- Name:
arc(or your subdomain) - Type: CNAME
- Value:
arc-alb-1234567890.us-east-1.elb.amazonaws.com - TTL: 300 (or your preference)
- Name:
Note: CNAME records don't work for apex domains (e.g., basekick.net). Use a subdomain like arc.basekick.net or switch to Route 53 for alias records.
Step 7: Verify Security Groups
You should have two security groups:
ALB Security Group:
- Inbound: HTTPS (443) from 0.0.0.0/0 (or your allowed IP ranges)
- Outbound: HTTP (8000) to Arc Security Group
Arc Security Group:
- Inbound: HTTP (8000) from ALB Security Group only
- Outbound: All traffic (or restrict as needed)
Step 8: Verify Target Health
Before proceeding, make sure your target is healthy:
- Go to Target Groups → select
arc-target-group - Click the Targets tab
- Wait for the status to change from "initial" to "healthy"
If the target stays "unhealthy," check:
- Security group allows port 8000 from the ALB
- Arc is running (
sudo systemctl status arc) - Health check path is correct (
/health)
Step 9: Get Your Admin Token
Before you can use Arc, you need the admin token. SSH into your Arc instance through a bastion host or Session Manager:
# If using a bastion host (Ubuntu-based AMI)
ssh -i your-key.pem -J ubuntu@bastion-ip ubuntu@arc-private-ip

# Or use AWS Systems Manager Session Manager (recommended for private subnets)
aws ssm start-session --target i-your-instance-id

# Once connected, get the admin token from Arc service logs
sudo journalctl -u arc | grep "Admin token"

# You'll see:
# Admin token: ark_abc123...xyz
Save this token securely—you'll need it for all API calls.
Step 10: Verify Deployment
Once everything is connected, verify Arc is healthy through your ALB:
# Check the health endpoint through your ALB
curl https://your-alb-domain.com/health

# You should see:
# {"status":"healthy"}
Test ingestion using Arc's MessagePack columnar format—the high-performance protocol designed for maximum throughput:
# Set your Arc endpoint and token
export ARC_URL="https://your-alb-domain.com"
export ARC_TOKEN="your-token-here"

# Write test data using MessagePack columnar format
# This is Arc's native format - 12x faster than line protocol
echo '{"m":"cpu","columns":{"time":[1734372000000],"host":["server01"],"usage":[95.0]}}' | \
  python3 -c "import sys,msgpack,json; sys.stdout.buffer.write(msgpack.packb(json.load(sys.stdin)))" | \
  curl -X POST "$ARC_URL/api/v1/write/msgpack" \
    -H "Authorization: Bearer $ARC_TOKEN" \
    -H "Content-Type: application/msgpack" \
    -H "x-arc-database: default" \
    --data-binary @-

# Query it back
curl -X POST "$ARC_URL/api/v1/query" \
  -H "Authorization: Bearer $ARC_TOKEN" \
  -H "Content-Type: application/json" \
  -H "x-arc-database: default" \
  -d '{"sql":"SELECT * FROM cpu","format":"json"}'
The MessagePack columnar format is what powers Arc's 9.47M records/sec ingestion rate. For compatibility with existing tooling, Arc also supports InfluxDB Line Protocol—but for new deployments, MessagePack is the way to go.
If you see your data come back, you're ready to start ingesting real sensor data.
Pricing: Transparent and Simple
Let me be clear about what you're paying for.
Arc Software: Free
Arc itself is free under AGPL-3.0. The software costs you nothing, whether you deploy from Marketplace, Docker Hub, or build from source. No license fees, no per-node charges, no data ingestion limits.
AWS Infrastructure: Variable
You pay AWS for the infrastructure you use:
| Component | Typical Cost | Notes |
|---|---|---|
| EC2 instance | $30-200/month | Depends on instance type |
| EBS storage | $8/100 GB/month | gp3 pricing |
| ALB | ~$20/month | Plus data transfer |
| SSL certificate | Free | AWS Certificate Manager |
A production setup with a c6i.xlarge instance, 500 GB storage, and ALB runs around $150-200/month in infrastructure costs. Your mileage varies based on instance size and data volume.
Enterprise Support: $500/month (Optional)
If you want dedicated support, we offer an enterprise tier:
- Priority support via email and Discord
- Architecture guidance for your specific use case
- Commercial licensing option (for those who need non-AGPL terms)
- Direct access to the engineering team
Enterprise support is optional. Many teams run Arc in production without it. But if you want a direct line to the people who built Arc, it's there.
What's Different from Self-Hosted?
Nothing, really.
Arc on Marketplace is the same container image we publish to GitHub Container Registry. Same code, same features, same performance. The Marketplace listing just makes it easier to deploy in AWS and simplifies procurement for enterprise teams.
Your data is stored in standard Parquet files on your EBS volume. You can query those files with DuckDB, copy them to S3, analyze them in Spark—whatever you want. If you decide to move off AWS tomorrow, your data comes with you.
No lock-in. That's the point.
Getting Started
Ready to deploy?
- Subscribe to Arc on AWS Marketplace (search for "Arc by Basekick Labs")
- Follow the steps above for your deployment pattern
- Point your Telegraf, Grafana, or applications at your new Arc instance
- Start querying your time-series data
If you hit any issues, reach out. We're here to help.
Resources:
Questions about enterprise support? Email enterprise@basekick.net